Add a Location
To add additional locations to a customer, complete the following steps:
- Access the Customer Details
screen for the customer.
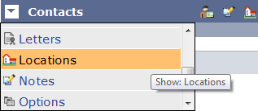
- In the field at the bottom of the screen, click the down arrow in the heading row.
- Select Locations from the drop-down list that appears. Show me

All existing locations for the customer are listed on the screen. Show me

- Click the Add Location button in the header row.
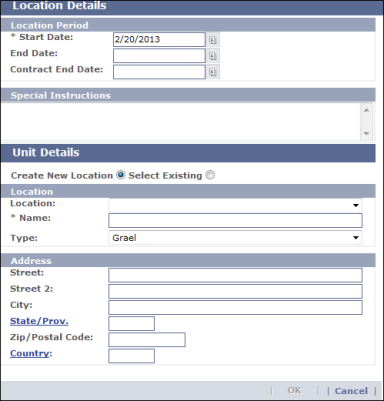
The Location Details screen opens. Show me

- Enter information for the new location. The fields that display on the screen depend on settings on the CorrigoNet Workflow Preferences screen, so the following lists all the fields that you might be able to see:
- Location Period: Enter a start date (required) for the location and, optionally, an end date and contract end date, if relevant. Optionally, enter any special instructions regarding the location period.
- Unit Details: Click the Create New Location radio button if you want to create the location from scratch. Otherwise, click the Select Existing button and select the location from the drop-down list that appears. Enter or update the address details for the new or existing location.
- Click OK to add the location to the customer record.