Note: Charges are not accessible when the Customer Invoicing module is on.
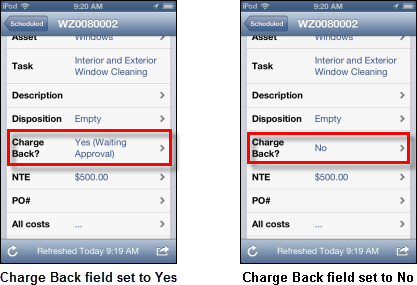
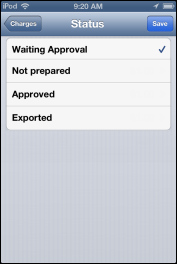
When the Charge Back? field is set to Yes, the main Work Order details screen displays the charges status in parentheses, as shown on the left below where the charge back is "Waiting Approval." When the Charge Back field is set to No, the charge status is not displayed as it is irrelevant. Show me
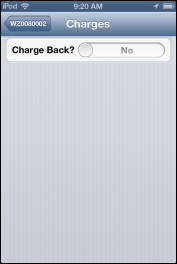
To view the Charges detail screen, tap the Charge Back row on the default Work Order details screen.
The appearance of the Charges screen varies depending on whether the Charge Back? field is set to No or Yes.
If Charge Back is set to No, the Charges screen displays only a Yes/No selector set to No. Show me
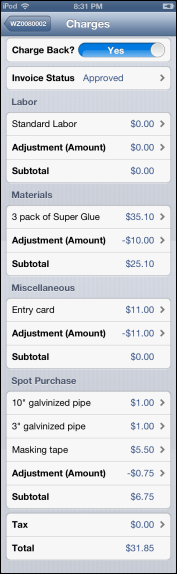
If Charge Back is set to Yes—or if it is changed to Yes using the Yes/No selector on the screen—the Charges screen displays the Yes/No selector as well as Invoice Status, Labor, Materials, Miscellaneous, Spot Purchase, and Tax/Total fields, as shown below. Show me
Note: The elongated image above is a compilation of three different screens that have been merged together to show all of the fields at once. You would never be able to see this much information on a single screen in the live application.
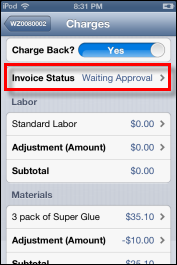
To see more information about any of the charges or adjustments listed on the screen, tap the corresponding row to open a details screen. The image below shows the Material Item details screen for the "3 pack of Super Glue" line item. Show me
To edit a charge status, complete the following steps: